Project Management
Geti™ 3.0 allows you to manage multiple computer vision projects directly from your desktop. Each project encapsulates your data, annotations, and trained models for a specific task.
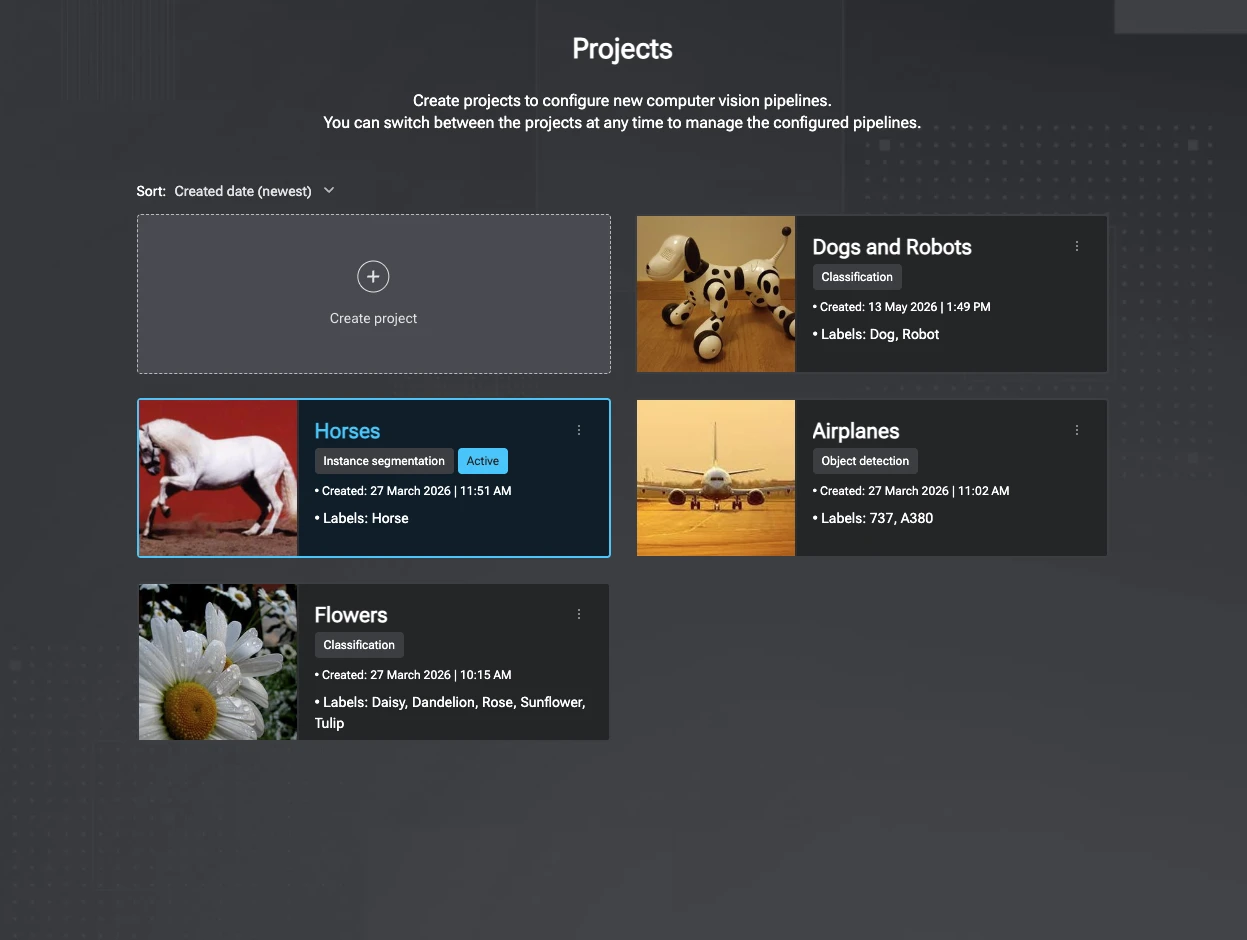
Home Page
When you open Geti™, the first screen you see is the Projects list. This page is your starting point for creating new projects and managing existing ones. It displays every project available to you, including projects you created manually and projects created from imported datasets.
You can create a project in two ways:
- Create new project — start from scratch by choosing the computer vision task and defining the name and labels you want the model to learn.
- Create from dataset — import an existing dataset and use it as the basis for a new project.
Each project card includes actions for common project management tasks:
- Rename the project to keep project names clear and descriptive.
- Enable the inference pipeline when the project has a configured source and a trained model, and the pipeline is not already running.
- Delete the project when you no longer need it.
To find projects more easily, sort the list by name or creation date in ascending or descending order.
Project Creation
To create a new project, click on the Create new project button on the Projects dashboard.
The creation process involves three simple steps:
- Project Name: Enter a descriptive name for your project.
- Task Type: Choose the computer vision task you want to solve.
- Labels: Define the classes you want your model to learn (e.g., "Defect", "Normal").
Supported Tasks
Geti™ 3.0 supports the following core computer vision tasks:
- Object detection: Locate objects within an image using Bounding Boxes.
- Instance Segmentation: Precisely outline objects using Polygons.
- Image classification: Assign one or more labels to an entire image. Supports both single-label and multi-label modes.
Labels Management
During project creation, define the labels you want your model to learn. To create a label, enter a label name and click the Add button ![]() (or press Enter). You can also set a custom color or assign a keyboard hotkey before adding the label.
(or press Enter). You can also set a custom color or assign a keyboard hotkey before adding the label.
Single-label (multi-class) image classification projects require at least two labels. Object detection, instance segmentation, and multi-label classification require at least one. For the full label concept — including how the empty label works and how labels are edited from the annotator — see Labels.
Once your labels are defined, click Create to initialize your project.
After the project is created, Geti™ redirects you to the project details page. This is where you continue the project workflow.
From the project details page, you can:
- Configure the pipeline.
- Manage the dataset.
- Annotate images or video frames.
- Train and optimize model(s).
- Run inference.
Summary
Use the Projects list to create, organize, and manage your Geti™ projects.
A typical workflow is:
- Create a project from scratch or from an imported dataset.
- Choose the task type and define labels.
- Configure the pipeline and manage the dataset.
- Annotate data, train a model, and run inference.