Labels Management#
Important
You will not be able to edit labels for all anomaly projects once you create the labels.
When you create a project, you must create labels to complete the project creation. You may change the labels or extend them after creating the project in the Labels view when you enter your project.
There might be several reasons why you would want to edit the labels:
You annotate a dataset and discover a new class that was or was not previously encountered, e.g. images in your dataset showed buildings but you did not need to annotate or could not recognize these objects in images at the time.
You want to refine existing classes with subcategories e.g. you did not foresee that you would need to annotate another animal kingdom group - mammals and you need to embed dog and cat labels into the mammals group, and add another label - parrot.
You want to label a new concept (group) e.g. you labeled cars but every car brand had a “car” label and now you would want to extend your model to learn a cars brand and cars model, so you can create a new group “Tesla” and add labels “Model Y”, “Model X” to the group.
You want to remove a label, or merge one with a new or existing label e.g. if you do not want the model to keep on recognizing an object, you can remove a label that is connected to that object; sometimes you may predefine a large number of labels but you do not know which ones will actually occur - that is when you can remove labels that were not used for the annotation.
Detection and Segmentation#
Object detection and image segmentation projects are characterized by a flat label structure, which means you cannot impose a hierarchical relation on these labels.
To edit labels, you first must click on the Edit button to enter the edit mode. You can remove a label, edit its name, and/or add a shortcut to it. Each edited, added, or removed label will contain a status badge next to the label name.
When you press the Save button, you will be prompted to assign revisit status to media items that were previously labeled so that your newly added label could be added to that media item if needed.
Label processing will then occur and may take a while. You can continue working on the platform and check the progress in the running jobs dashboard by clicking on the jobs icon ![]() located in the header of the Intel® Geti™ platform. You will be notified when the process is finished.
located in the header of the Intel® Geti™ platform. You will be notified when the process is finished.
Classification#
The structure of your labels depends on the classification task template you chose but you can change the structure and relation of your labels at any given moment. Just to remind you, upon the project creation of a classification task, you have to select one of the predefined:
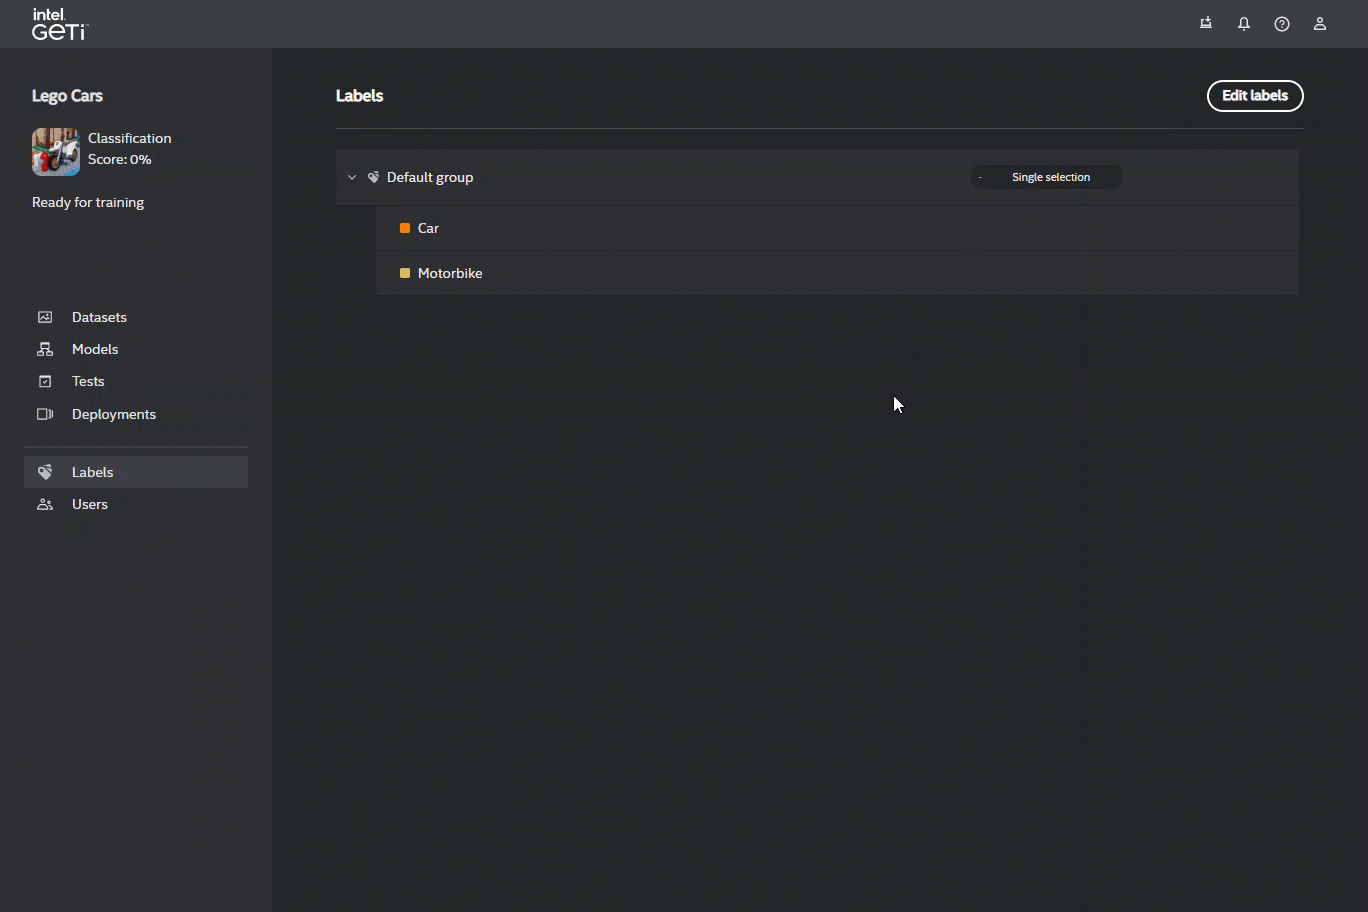
Single selection - where only one label can be applied to an image (in computer vision literature, it is called binary classification)
Multi selection - where multiple labels can be applied to an image (in computer vision literature, it is called multiclass or multinomial classification)
Mixed - where you can nest multiple labels under one label and create a tree structure / hierarchy
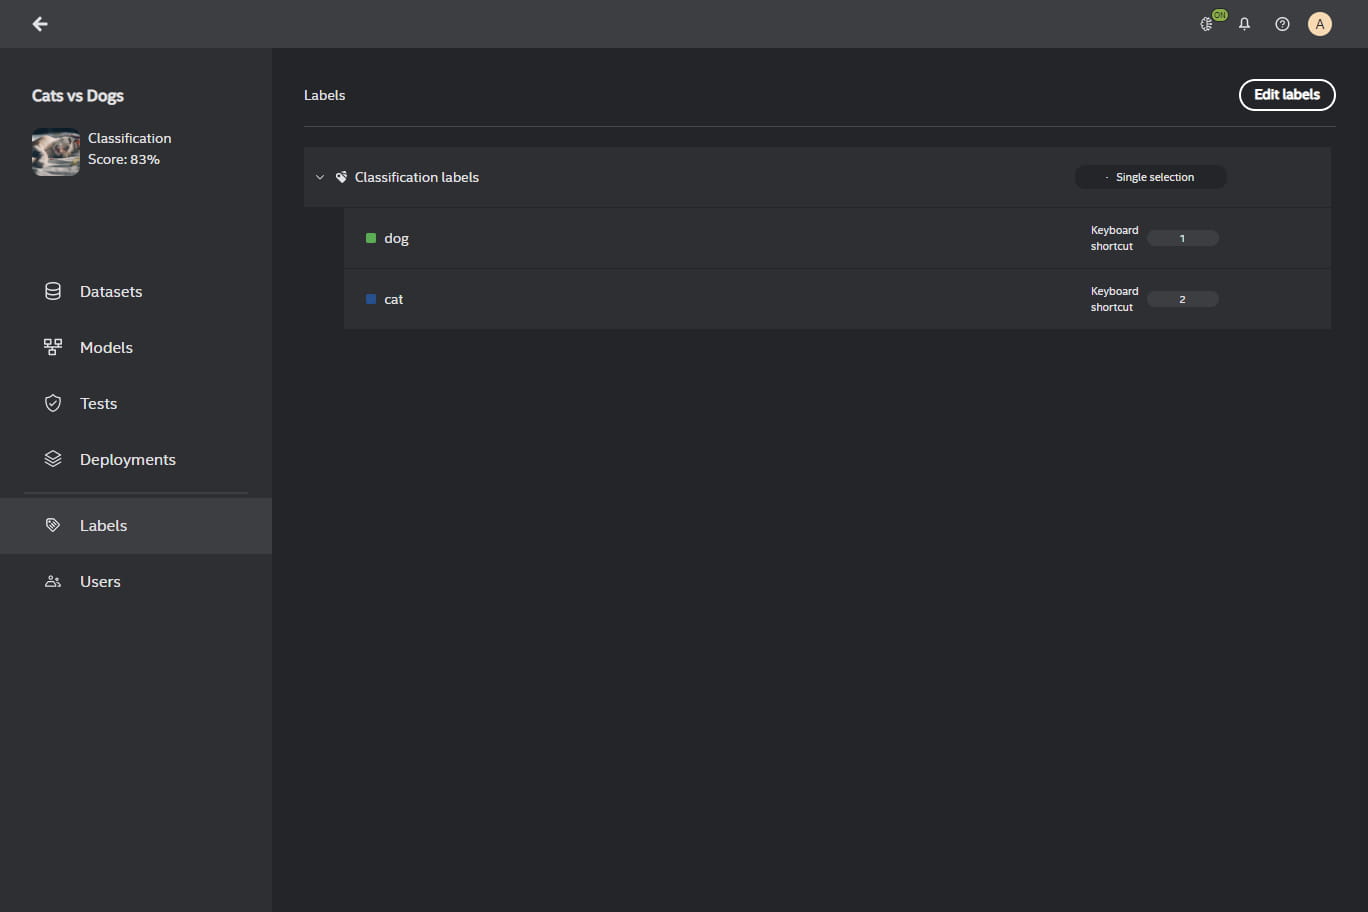
To illustrate how you can use classification templates, we will take you on a journey from single selection through multi selection to mixed selection. Let us start with single selection. You created two labels - “dog” and “cat”, they are mutually exclusive i.e. you can only assign one label to an image from your dataset. As you annotate through your dataset, you notice that images contain more animals than dogs and cats - there are also single images of pandas. You decide that you want your model to also recognize pandas from images. All you have to do is create a new label in your current single selection template.
However, you caught sight of images that contained both animals - a cat and a panda and you would also want to have them labeled not only as “cat” but “panda”, too. So, you can extend the relation of your current label template to allow assigning more than one label to one image. The system will ask you if you would want to revisit images that you have already annotated so that you could add another label - “panda” to pertinent images.
As you keep annotating and adding images to your dataset, you realize that you need to create categories for the animals you annotate. You have three labels - “cat”, “dog”, “panda” so you can create a group for them - ‘mammals’, furthermore you can create a group - ‘animals’ for the mammals group so that you can add new animal kingdom groups e.g. ‘reptiles’, ‘birds’, and add new labels to these groups. If you decide that you no longer need a label or a group, you can remove it at any time with no consequence to your model or you can merge it with a new or existing label.
Single selection#
Important
Single and multi selections are characterized by a flat structure but you can extend this structure and turn these single and multi selections into a mix with a hierarchical structure.
You can create a hierarchical structure just for Single selection with nested labels from which you can choose only one in a particular group. You can only choose one label from each group as you go down the hierarchy, e.g. Animal –> Mammal –> Dog –> Mongrel
Multi selection#
You can create a hierarchical structure just for Multi selection with nested labels from which you can choose multiple labels in a particular group. You can only choose multiple labels from each group as you go down the hierarchy, e.g. Animal –> Mammal –> Dog –> Mongrel –> sitting/barking
Mix#
You can create a hierarchical structure from Single or Multi selection with nested labels from which you can choose one or multiple labels in a particular group. You can set what groups will have a Multi selection option, the rest of them will be of Single selection if not indicated otherwise. You can choose single or multiple labels from each group as you go down the hierarchy, e.g. Animal –> Mammal –> Dog –> Mongrel –> sitting/barking
Edit Labels#
To edit labels, you first must click on the Edit labels to enter the edit mode.
You can remove a label, edit its name, add a shortcut to it. In the case of hierarchical classification, you can create a new directory for that label to broaden the width of that label category e.g. dog label can become a dog directory where you would create labels of dog breeds such as Yorkshire Terrier, Golden Retriever, German Shepherd etc. You can enable/disable the multiple labels option for each directory when you edit a particular directory.
Each edited, added, or removed label will contain a status badge next to the label name.
When you press the Save button, you will be prompted to assign revisit status to media items that were previously labeled so that your newly added label could be added to that media item if needed.
Dealing with new labels and concept drift in the Intel® Geti™ platform#
When you interact with the Intel® Geti™ platform, adding a new label can trigger a series of processes to ensure the validity and relevance of previously annotated images. The Intel® Geti™ platform has a built-in mechanism to ascertain whether, and to what extent, already annotated images need to be reconsidered in light of the newly added label.
This is particularly pertinent in the case of multilabel classification, where the newly added label could potentially be relevant to some of the pre-existing annotated data. Consequently, these media are earmarked as ‘to revisit’, indicating that they require reassessment.
This status remains in place until you re-submit the annotation via the user interface, with or without changes. As far as the AI is concerned, media marked as ‘to revisit’ can be incorporated into the training set. However, the algorithm will deliberately disregard any label that is currently in this state of uncertainty.
To illustrate, consider a scenario where you are working on a clothing classification problem and decide to add a new label termed “vintage”. If you proceed to train a model before revisiting the annotated dataset, the algorithm’s OTX loss function will not factor the “vintage” label as either present or absent in a given image, but will instead skip over it entirely.
In MLOps jargon, this intelligent feature acts as a mechanism to combat concept drift, ensuring that the model remains robust and adaptable to evolving labeling needs.