Project Management#
Important
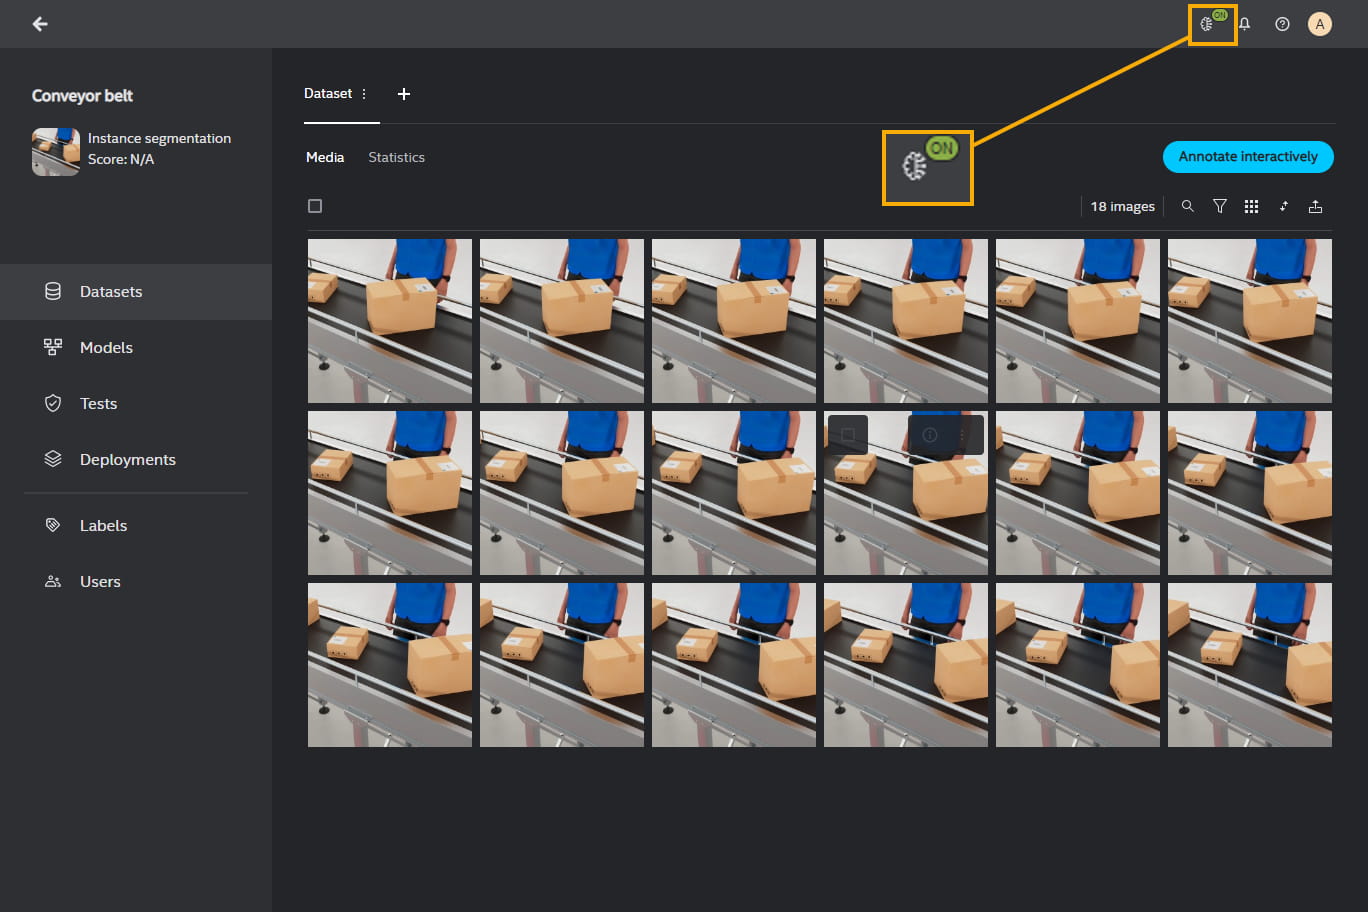
When creating projects, the auto training option is enabled by default. However, you can disable this option by clicking on this icon ![]() from the header of the screen in each project panel or the annotator screen.
from the header of the screen in each project panel or the annotator screen.
Home Page#
After logging into the Intel® Geti™ platform, you will land on the Home screen. You will see a list of the projects that belong to your Default Workspace. If you have not created any projects yet, the list will be empty and you will be prompted to create your very first project.
If there is one or more projects on the list, you can manage them with the following options:
Search
 will help you look for a desired project by its name.
Sort
 will help you sort the list either by creation date: Newest to Oldest, Oldest to Newest or by name: A to Z, Z to A.
Delete will help you remove a project from the list. You will access it by clicking on the More Options icon
 next to the project’s name.
Header#
In the Header you can click the Intel® Geti™ logo which takes you to the home screen. Apart from that, you will find the following functionality:
Install app
 to install Progressive Web Application (PWA) on your computer.
Auto training
 enables or disables auto training.
Jobs
 presents the progress of all jobs on the platform. They fall into 4 categories:
Running jobs which have started and are still being processed.
Finished jobs which have been successfully completed.
Scheduled jobs which await resources to start training.
Cancelled jobs which were aborted by a user.
Failed jobs which could not finish successfully. You will find a short description of the cause of the failure in this tab. You can also use Delete to remove the job from the list.
Help
 will redirect you to
User guide which will take you to Intel® Geti™ platform documentation.
Learn - which will take you to the video tutorials screen.
About - which will take you to the About screen.
Reset help dialogs - which will activate the help dialogs again.
User
 will take you to the User screen with following options:
Profile which will take you to the Profile screen.
Sign out which will log you out of the platform.
Project Creation#
To create a project, click on the Create new project button located on the right of the Projects dashboard.

You will then be prompted to:
Enter a project name
Choose a template
Create labels for the project (this step is skipped for the Anomaly Classification project type - see the note below)
Note
When creating an Anomaly project, you do not have to create labels. Instead, in the Media screen, you will see 2 buckets: first bucket for normal images and videos, the second bucket for anomalous images and videos. When uploading media to each bucket, the “normal” and “anomalous” labels will be applied automatically to the images and videos in the respective buckets.
Templates#
We provide the following templates for computer vision tasks Intel® Geti™ supports
Classification includes Classification single label, Classification multi label, Classification hierarchical
Detection includes Detection bounding box, Detection oriented
Segmentation includes Instance Segmentation, Semantic Segmentation
Anomaly includes Anomaly Classification, Anomaly Detection, Anomaly Segmentation
Chained tasks includes Detection –> Classification, Detection –> Segmentation
Labels Creation#
Your project is not created until you complete this step. Labels are pieces of information you assign to your inputs. In other words, you will use a label to teach a machine a concept e.g. if you want to teach the machine how to classify a dog and a cat, you will need two labels “dog” and “cat”.
Each project in the Intel® Geti™ platform has a template for types of computer vision tasks where the structure of labels is preselected based on the type of task you will choose. To learn more about managing labels, head over to the Labels Management page.
You can select a color for your label by clicking on the color box next to the label field. After typing, the name of your label you can press Enter or click on ![]() to add the label.
to add the label.
Once you added your labels, press Create to create the new project.
Export / Import Project#
Important
Please note that currently projects can only be exported and then imported to the same version of the Intel® Geti™ platform. For example, projects exported from 1.5.0 can only be imported to Intel® Geti™ 1.5.0.
You can export a project by clicking on ![]() and then Export in the Home screen for your projects. The download will start automatically after preparing the project to be exported in a .zip file.
and then Export in the Home screen for your projects. The download will start automatically after preparing the project to be exported in a .zip file.
You can import a project by clicking on ![]() next to Create new project and then Import Project. Select an exported project in a .zip file. You can cancel the import process at any time. The project creation date from the import follows the original creation date from a computer where the project was created.
next to Create new project and then Import Project. Select an exported project in a .zip file. You can cancel the import process at any time. The project creation date from the import follows the original creation date from a computer where the project was created.
Create project from a dataset#
Important
When you import a dataset, a new project will be created with a project name you will specify in the wizard for creating a project from a dataset.

You can create a new project from a dataset by clicking on ![]() next to Create new project and then Create project from a dataset in the Home screen for your projects. When you click the button, a dialog box will appear and guide you through the process. In the first step, you need to upload a dataset in a .zip format. Uploading your dataset can take up to several minutes depending on the size of your dataset. That is why you can hide the dialog box and continue working on the platform while the dataset is being uploaded in the background. The platform will inform you of the dataset status by showing a notification on the bottom of the screen. When there is an error or warning message, you can see more details by clicking on See details and you will be taken to the dialog box where you will find more information.
next to Create new project and then Create project from a dataset in the Home screen for your projects. When you click the button, a dialog box will appear and guide you through the process. In the first step, you need to upload a dataset in a .zip format. Uploading your dataset can take up to several minutes depending on the size of your dataset. That is why you can hide the dialog box and continue working on the platform while the dataset is being uploaded in the background. The platform will inform you of the dataset status by showing a notification on the bottom of the screen. When there is an error or warning message, you can see more details by clicking on See details and you will be taken to the dialog box where you will find more information.
At any given moment you can see the progress of the dataset upload by clicking on ![]() in the header of the screen. When the upload is successful, you will receive a prompt to select a task type and labels for the uploaded dataset. You can proceed by clicking on Select. Type a name of the project, choose a task type (if the system detects it automatically, this step is done for you), and click on Next.
in the header of the screen. When the upload is successful, you will receive a prompt to select a task type and labels for the uploaded dataset. You can proceed by clicking on Select. Type a name of the project, choose a task type (if the system detects it automatically, this step is done for you), and click on Next.
The last step of the dataset upload process is label selection. You can cherry pick which labels you want to import from the annotated dataset you uploaded. You can also import media items from the dataset and abort importing annotations that are assigned to labels. To decouple labels from their media items, leave the label boxes unticked and mark the box that says “Import the media with labels that you haven’t selected”.
All affected images will be assigned the Revisit status, which means you can easily filter them out from the media items that were not imported. To filter them out, click on ![]() in the gallery screen below.
in the gallery screen below.
Project Settings#
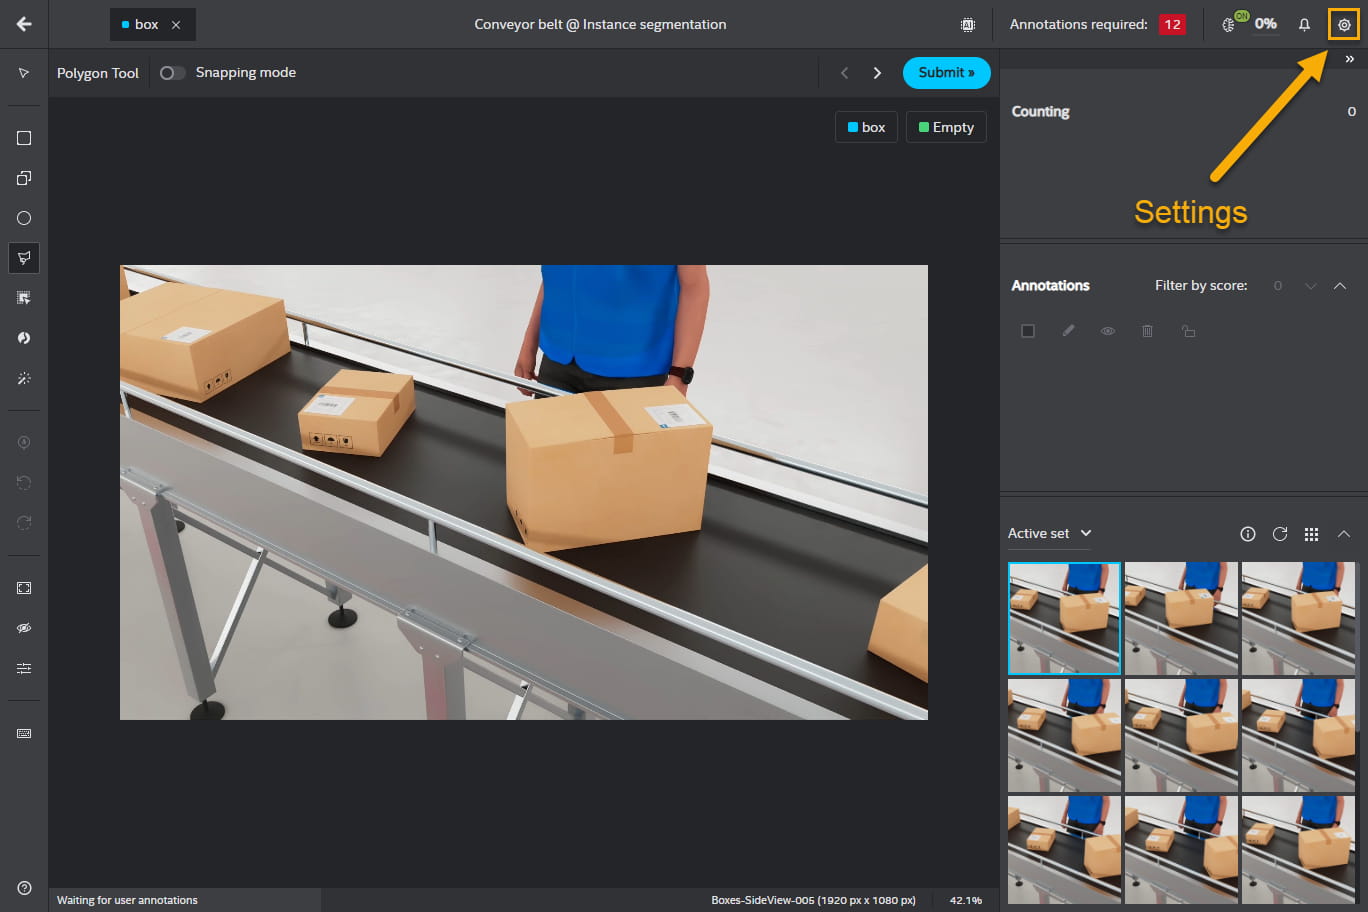
You can access the Settings dialog box by clicking on the Settings icon ![]() . In this part of the UI, you can toggle on/off:
. In this part of the UI, you can toggle on/off:
Annotation - which will hide the annotation panel
Counting - which will count how many annotations were made for a particular label (set by default)
Important
You can access the Settings only via the annotator.
Auto training switcher#
When creating projects, the auto training option is enabled by default. However, you can disable this option by clicking on this icon ![]() from the header of the screen in each project panel or the annotator screen.
from the header of the screen in each project panel or the annotator screen.